

Introduction — a shop-floor morning that changed my view
I remember walking into a small factory in Dongguan on a rainy Monday, and the first machine I saw had a thin, worried line of technicians around it. The industrial 3d printer in that bay had stopped mid-run and a simple parameter mistake had cost the team two days of parts. Data mattered: scrap rose by 18% that month across the line, and the procurement lead called for “a fix” before Friday (we were already behind). How do you stop those costly stops from becoming a pattern? I ask that because I have spent over 18 years in industrial additive manufacturing and the B2B supply chain, and I have seen the same avoidable problems repeat — but with different faces. The idea here is practical and motivational: you can change process, not just react. Read on — I’ll walk through what usually goes wrong, why, and what to check first.

Why common fixes fail for industrial 3d printing machine setups
Where do repairs miss the mark?
Most teams treat an industrial 3d printing machine like a black box. They swap a part, update firmware, and hope the error vanishes. That surface-level approach misses deeper issues. I’ve seen a replacement of a laser module in a metal SLM unit (April 2017, Shenzhen) that reduced visible error — but the real failure, a drifting power converter feeding unstable current, remained. The unit returned to sporadic faults two weeks later. A repair that ignores power converters, build chamber dynamics, and slicer settings is a bandage. No surprise: uptime only improved from 72% to 76% — small wins, not fixes.
Technically, the weak links are often systemic: thermal gradients inside the build chamber, flawed support structures from poor slicer choices, and resin viscosity swings that staff misread. Edge computing nodes that stream sensor data can flag trends early, but only if you pair them with correct thresholds. Look, I say this from hard lessons — I once logged sensor drift over three weeks before someone noticed — and yes, that delay cost an order shipment and my patience. The practical point is this: repair actions without root-cause checks will cycle you back to the same outage. I prefer to trace from sensor readout to process change, not the other way around.
New principles and a clearer path forward for LCD and industrial systems
What’s Next — moving from fixes to design
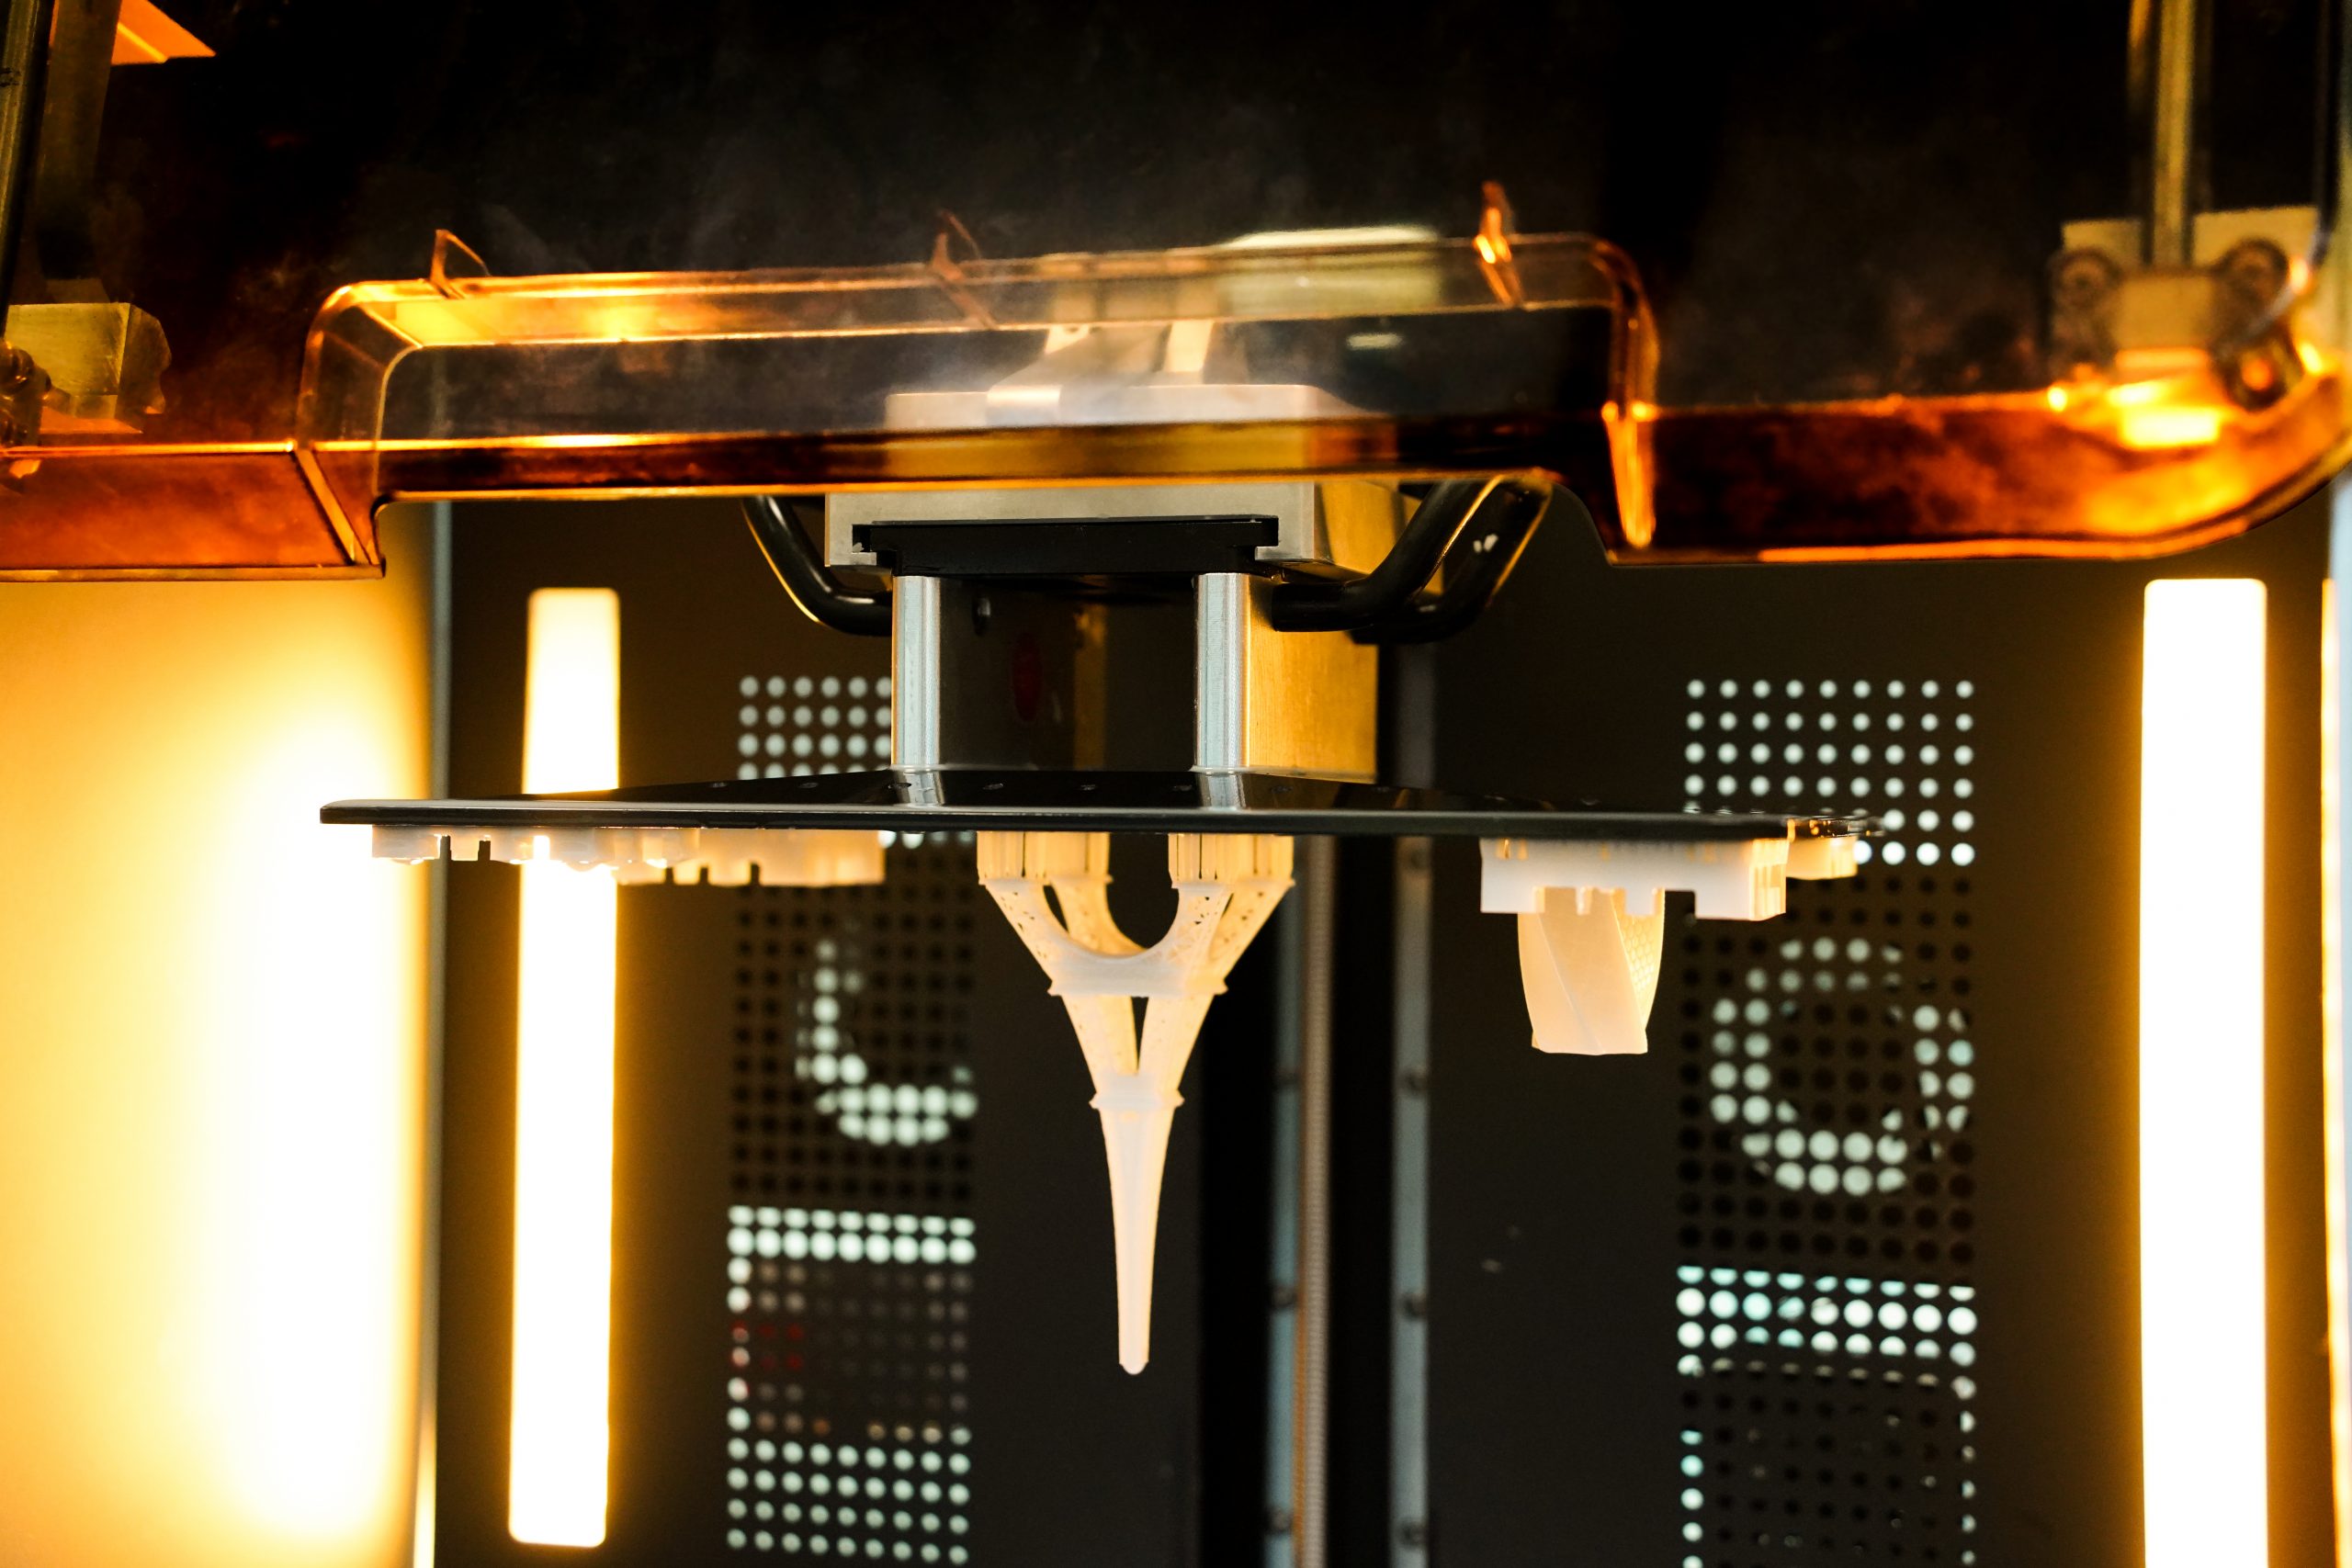
Shift the lens from “repair toolbox” to “system principles.” New approaches center on real-time feedback, modular maintenance, and material-aware process control. For example, an lcd 3d printer (we trialed a 4K vat unit in our Milan lab in June 2021) benefits when resin viscosity is monitored and compensated via heater loops. That measure alone cut print failure rates on fine dental parts by 40% in controlled runs. The principle is straightforward: match machine control to material behavior. That means more than firmware updates — it requires sensor fusion, conservative slicer parameters for critical features, and clear alarm logic.
Another principle: modularize the routine failure points. Make the build chamber, optics, and power paths easy to isolate. In 2019, my team redesigned a production cell so a failed power converter could be swapped in under 30 minutes, not 8 hours — throughput climbed because we removed the long tail of mean-time-to-repair. Future systems will also lean on edge computing nodes for on-site analytics, and on smarter maintenance schedules driven by real wear, not hours logged. These are not buzzwords; they are changes that cut lead time and scrap. I’ve mapped them, implemented them, and witnessed measurable savings — and if you start with one change, like adding a simple current monitor to your main rail, you’ll see the value fast — and then want more.
Practical evaluation metrics and final guidance
After almost two decades in this field, I focus on three evaluation metrics when advising buyers or managers. These are concrete. First: failure-mode visibility. Can the system tell you what failed — thermal drift, optical misalignment, or a power glitch — with clear logs? Second: mean-time-to-isolate. How fast can you remove the failed module and resume? We cut MTTR from 7 hours to 45 minutes by changing access panels and documenting swap steps, and that translated to a 9% productivity gain on one line in Q2 2020. Third: material-process traceability. Does the machine record resin lot, batch temperature, and slicer profile for each build? If not, you will chase ghosts when parts fail.
Use these metrics to compare hardware and vendors. Score each candidate machine on visibility, isolation, and traceability. Practical tip: ask for a recent case study or a log extract from a real run — not marketing graphs. I collected logs in June 2022 from a mid-size shop that used the same lcd 3d printer model across three lines; the logs revealed a recurring 0.8°C drift in their vat heater that correlated with 12% of failed micro-geometry parts. Changing the heater control logic fixed the batch yield. That kind of evidence is what you want before buying or upgrading. Make decisions this way, and you will reduce surprises.
Three quick, actionable checks you can run this week: 1) pull a build log and verify sensor timestamps against operator notes; 2) inspect power converter mounts and cabling for heat pockets; 3) run a calibrated test print with a known standard part and compare dimensional drift over five runs. Score each check and prioritize the highest-impact fix first. Do it — and you’ll see the difference in your next production cycle. For vendor support and system examples, I often reference real-world models and partners such as UnionTech as a starting point when customers ask for tested industrial options.
