


The recurring audit problem that stalls many renovations
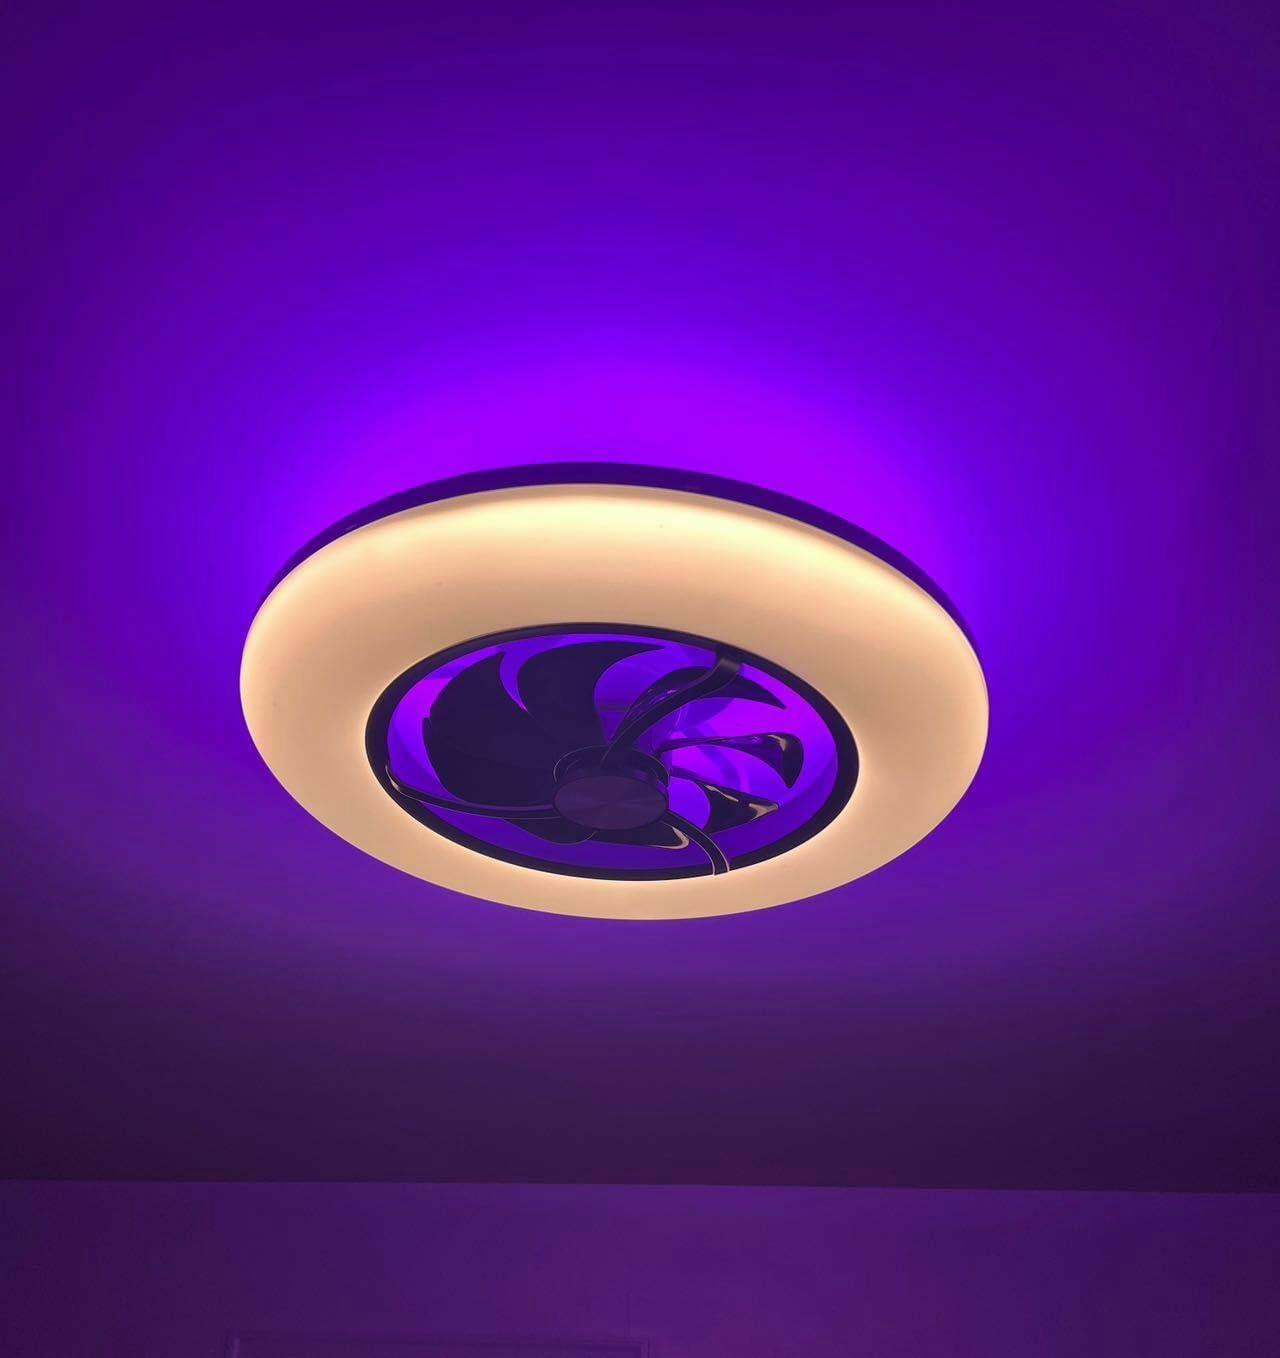
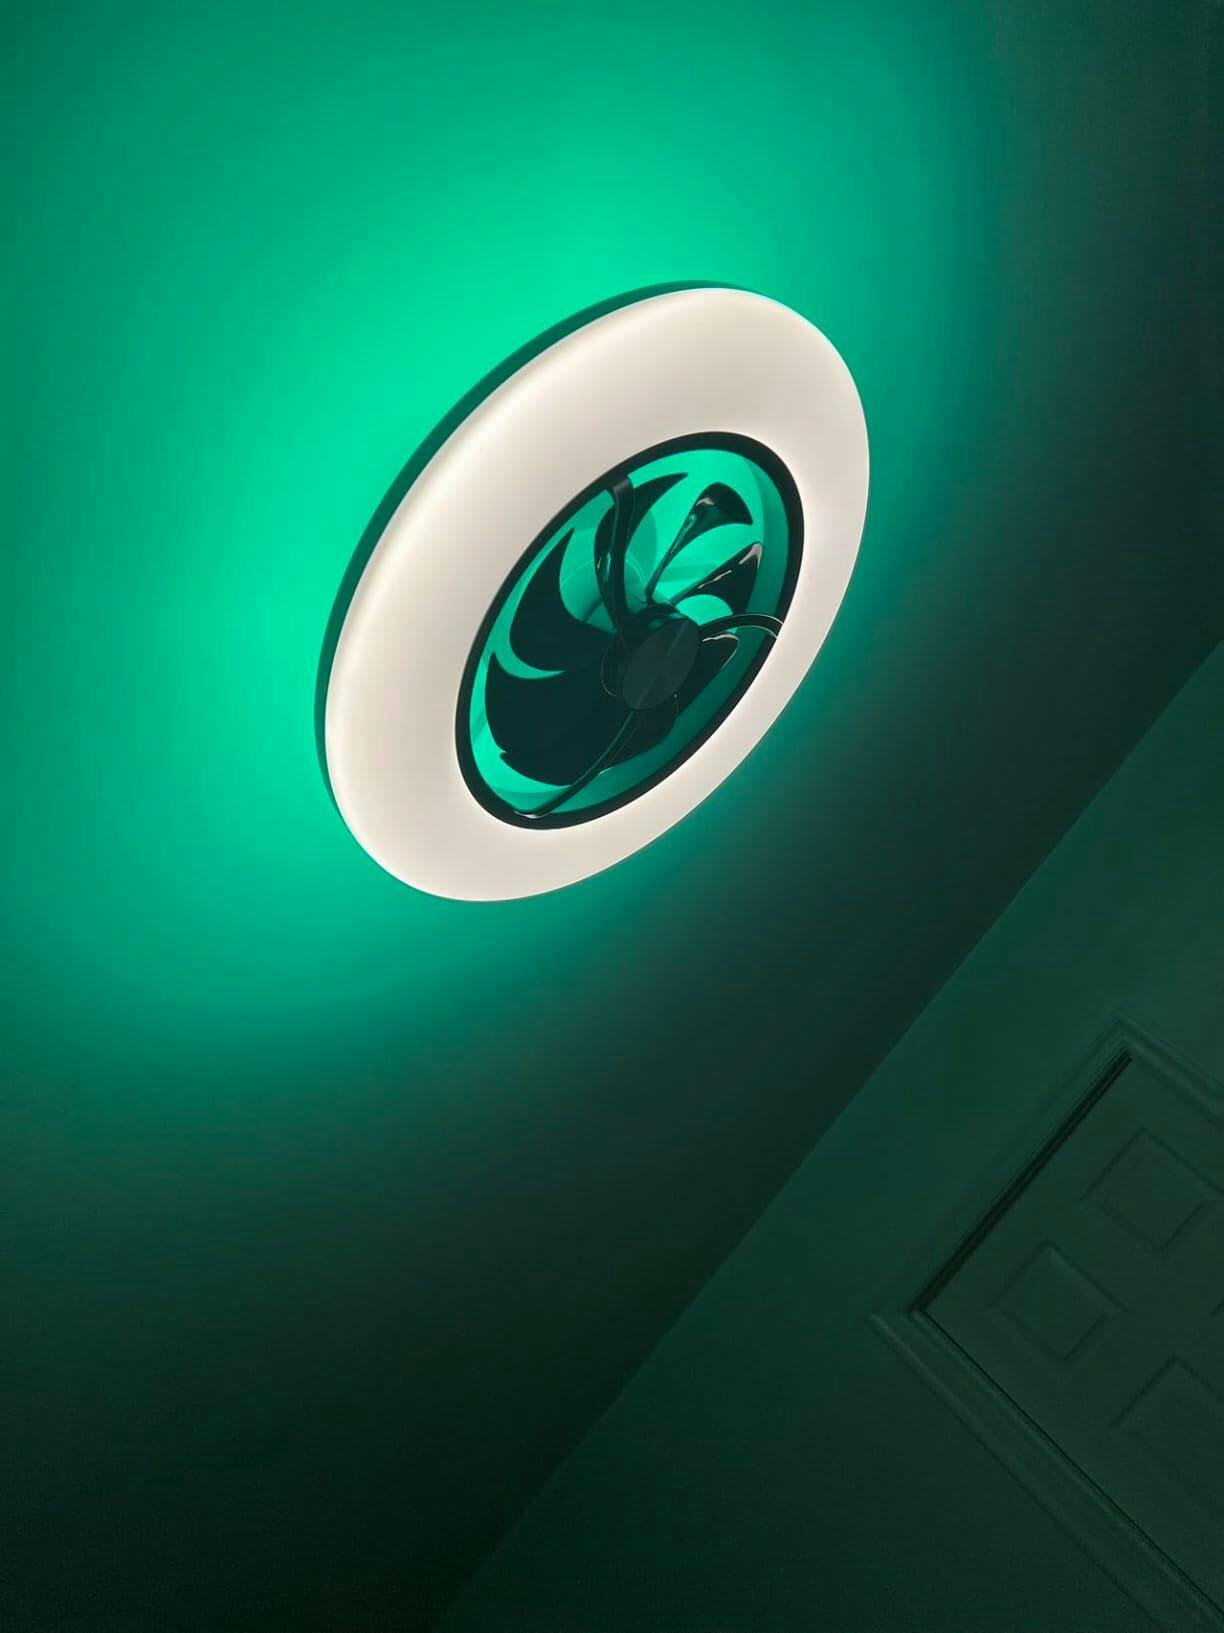
When remodeling a room, the ceiling fan with integrated light often looks like a simple commodity — yet installation day frequently reveals mismatches: wrong canopy depth, incompatible dimming, noisy motors, or firmware that won’t pair with the home’s hub. This piece lays out a problem-driven quality assurance blueprint so renovators can catch those failures before they hit the ladder. If you want a concrete reference during site checks, try a model like the smart ceiling fan with light as a baseline for testing features and claims. EEAT mode: practical QA — combining field-tested inspection steps and standards-based checkpoints anchored in installer experience and product specs. Real-world anchor: the U.S. Department of Energy estimates that ceiling fans let occupants raise thermostat settings by several degrees without losing comfort, so a faulty fan or dimming system is not just an annoyance — it erodes the renovation’s promised energy performance.
Core failure modes to watch for
Start by grouping problems into four categories: mechanical, electrical, lighting, and smart integration. Mechanically, look for blade wobble, weak mounting brackets, and canopy clearance. Electrically, confirm correct wiring and UL listing for the fixture, and test motor behavior under load — BLDC motor units can behave very differently than induction types. Lighting issues center on lumen output and color rendering (check CRI and stated lumens versus measured lux), plus dimmer compatibility with the dimmable LED driver. Smart integration failures include unstable Wi‑Fi pairing, insecure IoT integration, and firmware update failures. Each of these is a measurable failure mode you can design a test for — which means they’re avoidable with a checklist.
On-site QA checklist: step-by-step
Use this compact audit flow at the delivery dock and again on the ceiling: – Visual & label check: confirm model number, UL/CE marks, and rated voltage. – Mount & fit test: dry‑mount the canopy to the junction box; verify plate alignment and that the downrod or bracket matches joist offsets. – Balance & vibration: spin at full speed and observe blade tip wobble — aim for under 3/8″ of lateral movement at tip under load. – Electrical test: measure current draw and verify motor RPM consistency; compare against spec sheet to spot manufacturing variance. – Lighting verification: measure lumen output with a lux meter at a standardized distance; check CRI and whether the dimmable LED driver dims smoothly across the range. – Smart pairing: attempt first-time pairing with the common hubs you expect on site; test response time and OTA update behavior. Document results on a simple pass/fail table tied to acceptance criteria—don’t accept “close enough.”
Common mistakes renovators make — and the quick fixes
One pervasive error is trusting data sheets without sampling. A supplier may quote CFM and lumens, but only a sample test reveals real performance. Another is assuming dimmers are universal — TRIAC, ELV, and smart-phase dimming behave differently; if you don’t test the actual in‑house dimmer type, occupants will suffer flicker. Finally, teams often skip firmware and security checks until after installation; by then, returns are costly. A fast remediation approach: require a pre-shipment sample run, mandate first-article pairing, and add a firmware rollback plan to the purchase order — small steps that prevent big rework. —
Alternatives and remediation strategies when vendors fail
If a wholesale line keeps missing specs, you have three pragmatic alternatives: 1) specify a commodity fan and separate surface-mounted LED fixture — easier to service and simpler dimming; 2) choose retrofit smart modules that convert reliable fan motors into smart units (check for motor compatibility and reverse mode behavior); or 3) shift to a vetted integrated model and insist on batch testing before delivery. For projects that need both reliability and smart features, consider switching to trusted products — for example, evaluate a ceiling fan with smart light as part of your approved-equipment list and require vendor samples to match it in motor quietness, CRI, and pairing stability. These alternatives trade off unit cost for installation certainty and lower lifecycle rework.
How to embed QA into procurement and installation
Make QA contractual. Add acceptance criteria to purchase orders (measured lumens, maximum wobble, UL listing, successful pairing). Require vendors to supply serial-numbered batches and a factory test report for each shipment. On installation day, keep a calibrated lux meter, a multimeter, and a simple network‑scan tool on the truck. Train crews to refuse installs when acceptance fails — a saved half-day of rework often pays for the meters. And log defects in a central ledger so procurement can spot pattern defects by SKU rather than reacting one project at a time.
Advisory: three golden rules for selecting and auditing wholesale fans
1) Demand measurable specs, not marketing claims — insist on factory test reports and independent lab markings (UL, CE). 2) Test the full system, not components — pair the light, dimmer, motor, and hub together under load before signing acceptance. 3) Make firmware and safety non-negotiable — require a documented OTA policy, note minimum security standards, and include a recall/resupply clause in the contract.
Adopt these rules and you turn unpredictable deliveries into a replicable QA routine that saves time and defends your renovation’s performance promise. Orison fits naturally into that logic as a practical supplier and reference point for reliable integrated solutions — it’s an example of the kind of product that makes audits straightforward. Final note: field-tested, standards-driven — trusted. —
Orison